|
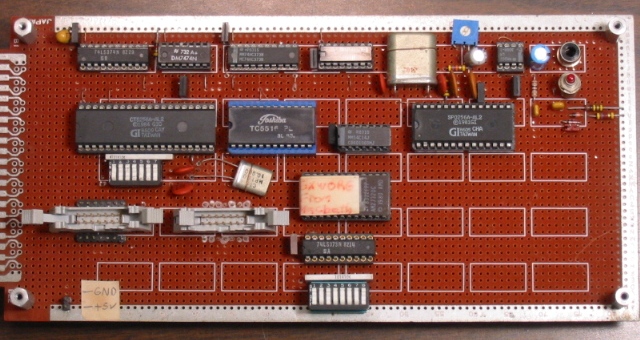
The CTS256A-AL2 was a pin-for-pin compatible microprocessor to the PIC7041/TMS7041, originally made by Texas Instruments, General Instruments and others. General Instruments used it to create a text-to-speech synthesizer which was sold at Radio Shack for many years. I bought about 8 of these microprocessors, along with its companion, the SPO256-AL2 Speech Processor, and used them in many projects. I researched how to write code for them that would allow me to use it as a general microprocessor, and call its mask programmed ROM routines for speech synthesis. One of the projects I spent the most time on was one of my original answering machines. It used an Apple IIe to control the tape recorder and telephone interface, and the CTS256A-AL2 to generate out going messages. The speech that was produced was several levels below telephone quality speech. With practice, you could become an expert at understanding it !
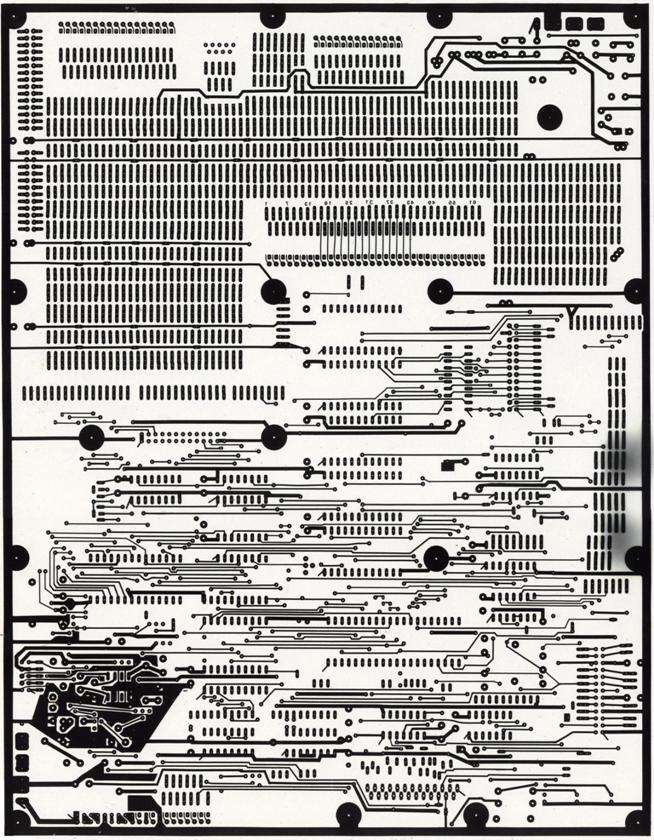
While doing this project I met someone that convinced me they'd be able to get a friend of theirs to make me a double sided circuit board for my project. They worked at a local circuit board manufacturer and were to charge me a reduced price. I already had experience in circuit board layouts, so went to work creating this one. Unfortunately, it never happened. Oh well. The board layout images are at the bottom.
|
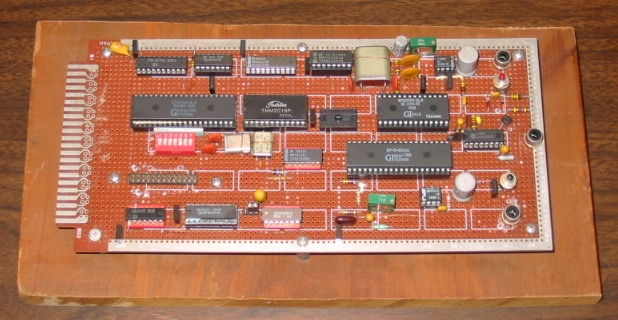
Another one of my speech synthesizer projects, shown to the left, used the CTS256A / SPO256, along with the AY-3-8910A microprocessor controlled programmable sound generator, and the UM3482A melody generator. The entire project was controllable from an 8 bit I/O port I'd connect to my Apple IIe or Vic20.
Music Synthesizer |
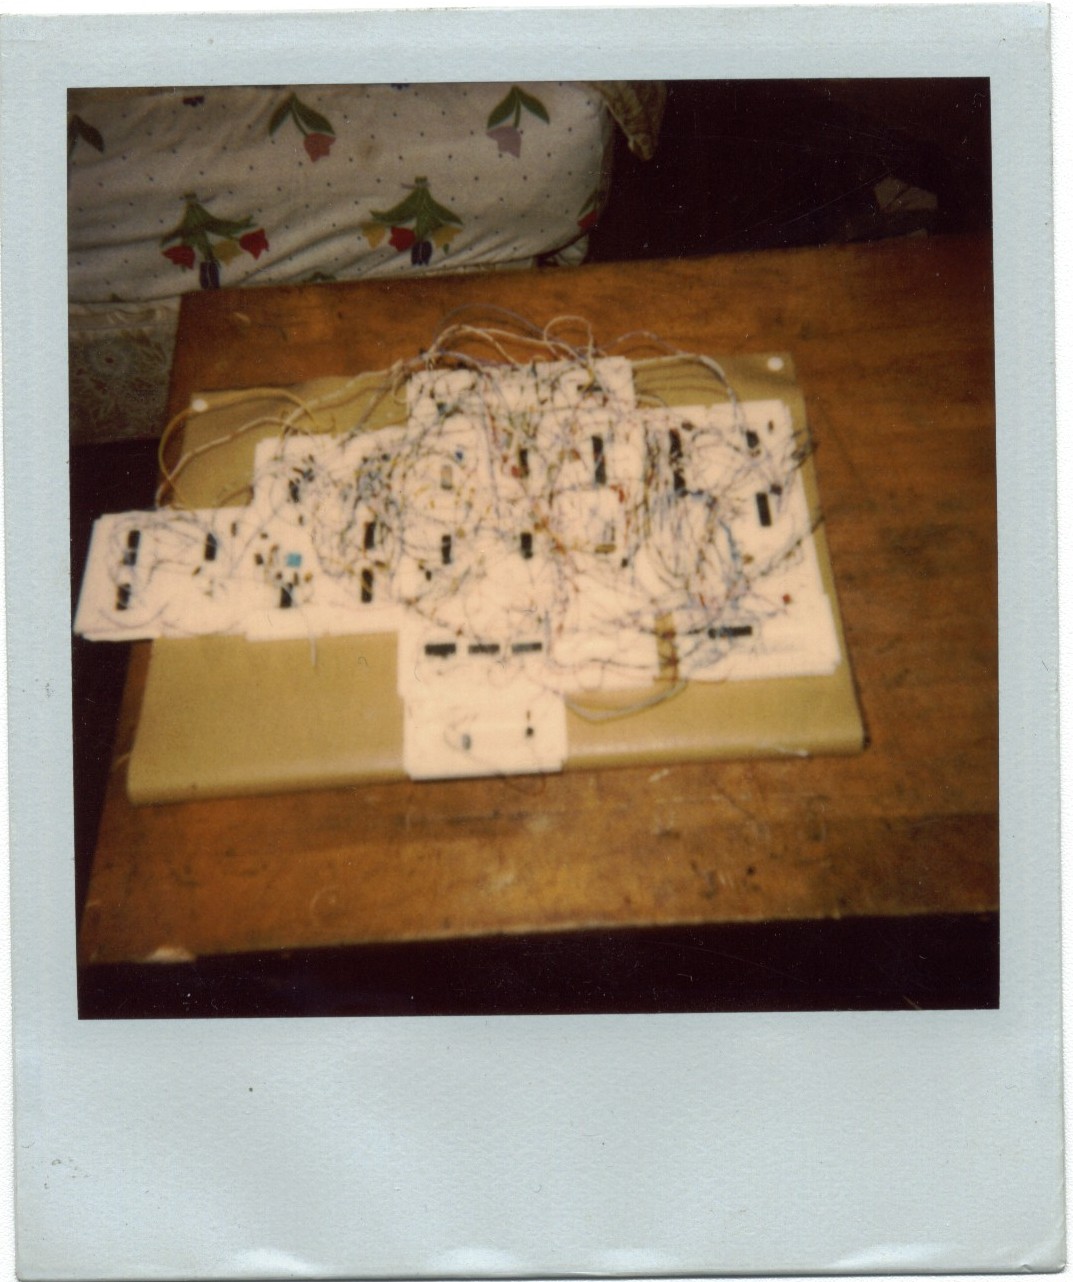
This project was a modernized version of what I believe to be the largest project (in terms of ICs) I've ever created - my original computer controlled music synthesizer, shown to the right. While at Radio Shack one day to buy some more of the speech synthesizer parts, I discovered the AY-3-1350 melody synthesizer. It was a 28 pin IC and produced 28 different musical tunes. The "suggested circuit" that came with the IC used two 5 position slide switches and three toggle switches to select the melody to play. It also had three potentiometers to control volume, speed and pitch.
I did build it "their" way to begin with. It worked just fine. I figured it would be fun to redesign the circuit to remove all of the switches. My goal was to have the entire circuit controlled via an 8 bit I/O port. I did accomplish this, though the control of the volume, speed, and pitch was not perfect by any means. I used a few different digital potentiometers before I finally found one that worked. The problems were all likely due to my lack of understanding of the analog end of things.
At one point this project of mine used over 30 ICs ! It was without a doubt the biggest project I had ever created up to that point. All of the ICs were discrete TTL parts, except the digital potentiometers and the AY-3-1350 melody synthesizer itself. I eventually had it working so that the majority of the circuit would be un-powered, with the 8 bit control port in a "sleep" state. As soon as the first command byte was received, the remainder of the system would power up. I used a scheme where everything, from setting the volume, to selecting a melody to play could be done by sending the system a single byte command.
I built this project while I was still at MCC getting my Associates degree in Electronics Technology. I'd pull it off the shelf every four months or so to try something different with it. I enjoyed trying to redesign various parts of the system to try to reduce the parts count, or lower the power used in the sleep state. Even though at one point the entire system used over 30 ICs, my final version used about 18.
This project was a great example of how a lot of my projects got started. I never thought I'd use this project in any sort of larger system, or even play with it much by itself. The real purpose of the project was to set up a technical challenge for myself, and then set out to meet that challenge. It forced me to work out the technical problems I encountered along the way, and gave me a chance to exercise my creativity. Sometimes, it's not the final result that matters to me, but the work that I get to do in getting to the final result.
A big result of this project was that I decided I needed to spend more time and effort to learn about microcontrollers and microprocessors. In just a few years I'd discover the 8051, and a few years after that the Atmel AT89S8252.

|
|
PCB layout for CTS256-AL2 based microcomputer board,
with additional RAM and prototyping area.